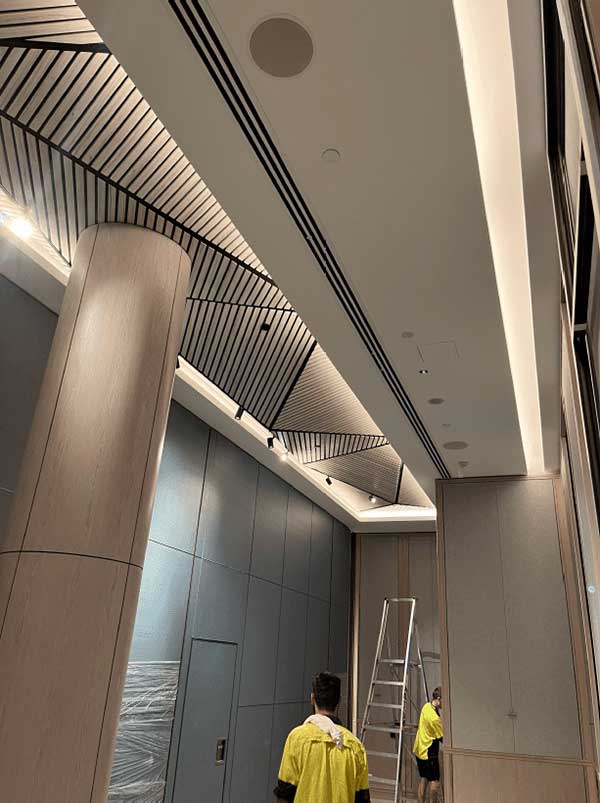
For over 20 years, SUPAWOOD has been integral to Australia’s most notable architectural projects demanding the most advanced acoustic performance.
Working in collaboration with architects, acoustic engineers, builders, and other construction professionals, SUPAWOOD’s depth of expertise is unparalleled.
Offering timeless beauty and optimal acoustics through reflective, diffusive and absorptive functions, SUPAWOOD timber acoustic panels are applied to both walls and ceilings.
Even though our noise absorption panels/ timber soundproof panels are lab certified for their noise and reverb control, correct installation is paramount.
Four key aspects must be actioned during the installation stage of SUPAWOOD acoustic panels.
- Set-Out
- Joint Alignment and Consistency
- Framing Positioning
- Framing Flush, Plumb and Secure

The installer on the job must clearly understand all best-practice aspects of timber soundproof panel installation and how they apply to your project.
Set-Out
Ensure the set-out points are clearly indicated on the drawings. If you intend timber acoustic panels or panel junctions to align around corners or to other structural items (e.g., window mullions), this must be noted on the drawings too. The installer must clearly understand and confirm this before framing begins. If you have any concerns or questions regarding the set-out, SUPAWOOD offers technical support.
Joint Alignment and Joint Consistency
Achieving accurate joint alignment and consistency is critical, as incorrect or inconsistent joints present at any point of a given architectural lining system can be quite noticeable. Avoid expressed joints less than 10mm wide, as the smaller the joint, the less the tolerance for not only installation accuracy but also panel expansion and contraction. Nearly all panel substrates will expand and contract with changes in humidity or temperature, so allowance must be made for this in the joint system.
Framing Positioning
Framing must be positioned at every fixing point (typically on either side of each joint and interim supports at no more than 600mm centres (less in some situations). Proprietary concealed fixing systems require specific framing positions, which must be adhered to for the system warranty to be valid.
Framing Flush, Plumb and Secure
Framing must be perfectly flush, or panels will warp out of alignment at the joints. Every part of the framing must be secure. This is obvious, but it is common for some part of the framing to be improperly secured to the perimeter track causing the timber acoustic panels to sag under their weight.
SUPAWOOD also wishes to express the importance of clear briefs to the actual site supervisor contact, who will be on-site during the installation process.
Only briefing contract administrators or project managers who then brief others dramatically increases the risk of error or critical information being lost along the way.
SUPAWOOD provides references to experienced installation contractors upon request.
In addition, SUPAWOOD supplies detailed diagrammatic instructions on how each of our proprietary fixing systems will be framed and installed. Whether you are preparing for an acoustic ceiling panel installation or fitting feature acoustic panel walls, SUPAWOOD has the experience you need to achieve first-class results.
SUPAWOOD project-specific shop drawing service details all set-out information showing how the fixing systems apply to the project for approval by the architect and for clear communication to the installer on-site.
Reach out to our friendly team today to answer any further questions.

