General setting out warnings!
- Assumptions and lack of communication are the prime reason installers end up with wrong size panels, framing in the incorrect position, or just a bad job with ugly perimeter details.
- Always begin with a discussion with your Supawood Project Manager. Our PMs will warn you about things you may not have considered and may stop you from making mistakes later on.
- Keep open channels of communication with the builder and even the architect, subject to protocols. Don’t hesitate to ask for a meeting, confirmed details, or updated drawings.
- If you experience any reluctance from a builder or contractor to communicate, ask them if they are prepared to risk something being done wrong.

Blades to be set out from doorway
Choosing set-out points
- Correctly determining the set-out point is probably your most important decision of the installation.
- In the case of beams and blades, your set-out points in one direction are restricted by the beam/ blade spacing for the area.
- Effectively, this means that you may not get an even joint line to all perpendicular/ perimeter surfaces, but have to compromise as best you can. Here are some suggestions on how best to do this:
Multiple set-out points. This is usually the case when you have beams/ blades that align to corners, doors and similar. This is a worst-case situation where you will have multiple different perimeter joint sizes. In this case we suggest you choose the most prominent door or window, and set out your beams/ blades to the centre of this. This will result in the perimeter joint on both sides of the window or door being the same, but being different everywhere else.
Centred set-out points. This is recommended when you have beams/ blades, which don’t have to align with anything in particular, so the centreline is centred in the space with equal or close to equal gaps to the perimeter all around. This suits beams and blades very well.
Single set-out point. This is usually the case when the architect has provided a single set-out point, which may align with a prominent item in the room, e.g., a column. Another typical situation is an L-shaped room, when the easiest set-out point is generally the inside corner of the L. Again, this suits beams/ blade set out.
Combination. You may have a combination of the above in one room, for example, beams on one side of the room may need to align with doorways, but on the other end of the room the beams do not align with anything. In this case you need to set out your beams from the doorway end.
Marking set-out points
- Mark the set-out point onsite on the floor or wall precisely where it will end up being. This means you may need to allow for thickness of packing, framing, and finish of adjoining walls, perpendicular surfaces, etc., so that the beam or blade corner/ edge/ centre, will end up precisely where you have marked it.
- Double-check the latest architectural plan or shop drawing to ensure you have included any special nominated set-out point.
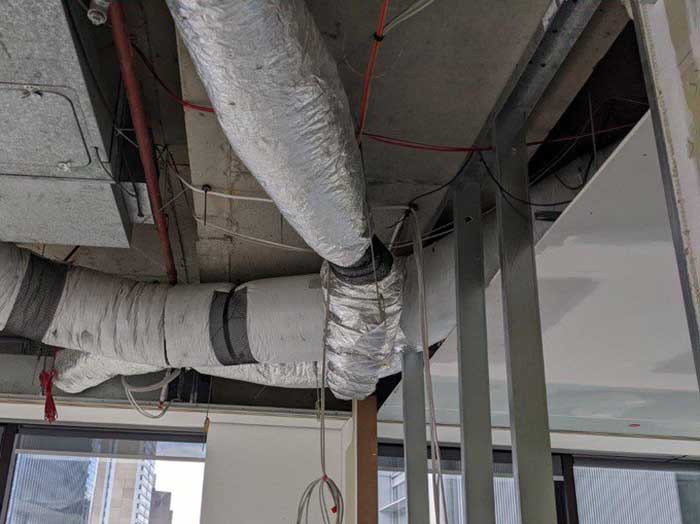
- Double-check the final ceiling/ wall levels with the builder – these may even change from the plans to allow for services that take up more space than expected. Note that in the case of beams and blades, Supawood can provide rectangular cut-outs in the back of beams or blades to allow for services that are coming down too low.
Marking remaining beams/ blades
This is generally not necessary, as beams and blades do not have any special alignment points side to side, and end to end can have staggered or non-aligned joins. However, there are some exceptions:
- Critical end of beam/ blade points. For example, if the ends of the beams/ blades align with a curved bulkhead or the like, the end points are critical and must be marked out so that you can get the precise measurements. An easier option, which most contractors prefer is to cut beams/ blades at end to end joints, or to build curved bulkheads or perimeter features after installing the beams/ blades.
- Waffle Blades. Waffle Blades need critical set-out done in both directions, as once the blades interlock, there is no room for adjustment.
Determining framing position
- Your framing must be perpendicular to the beam/ blade direction.
- The centres of your framing members will be 600 to 1200mm centres, depending on the beam/ blade weight. Speak to your Supawood Project Manager if unsure.
- Plan where you may need to do some special framing, for example, long spans underneath services, prefabricated shaped or curved framing sections, or bulkheads you will need to build. Some situations may require special panel modifications, so review these with your Supawood Project Manager.

